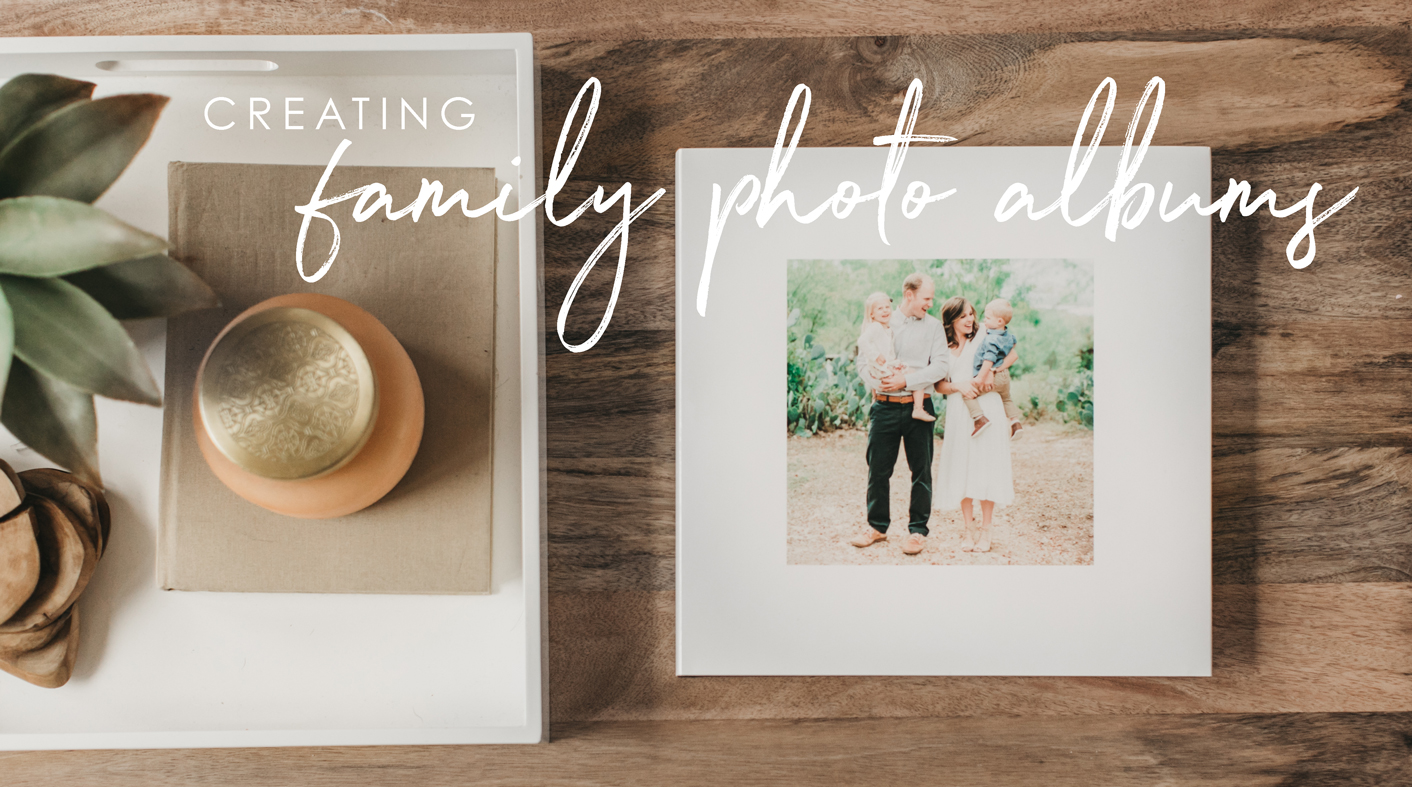
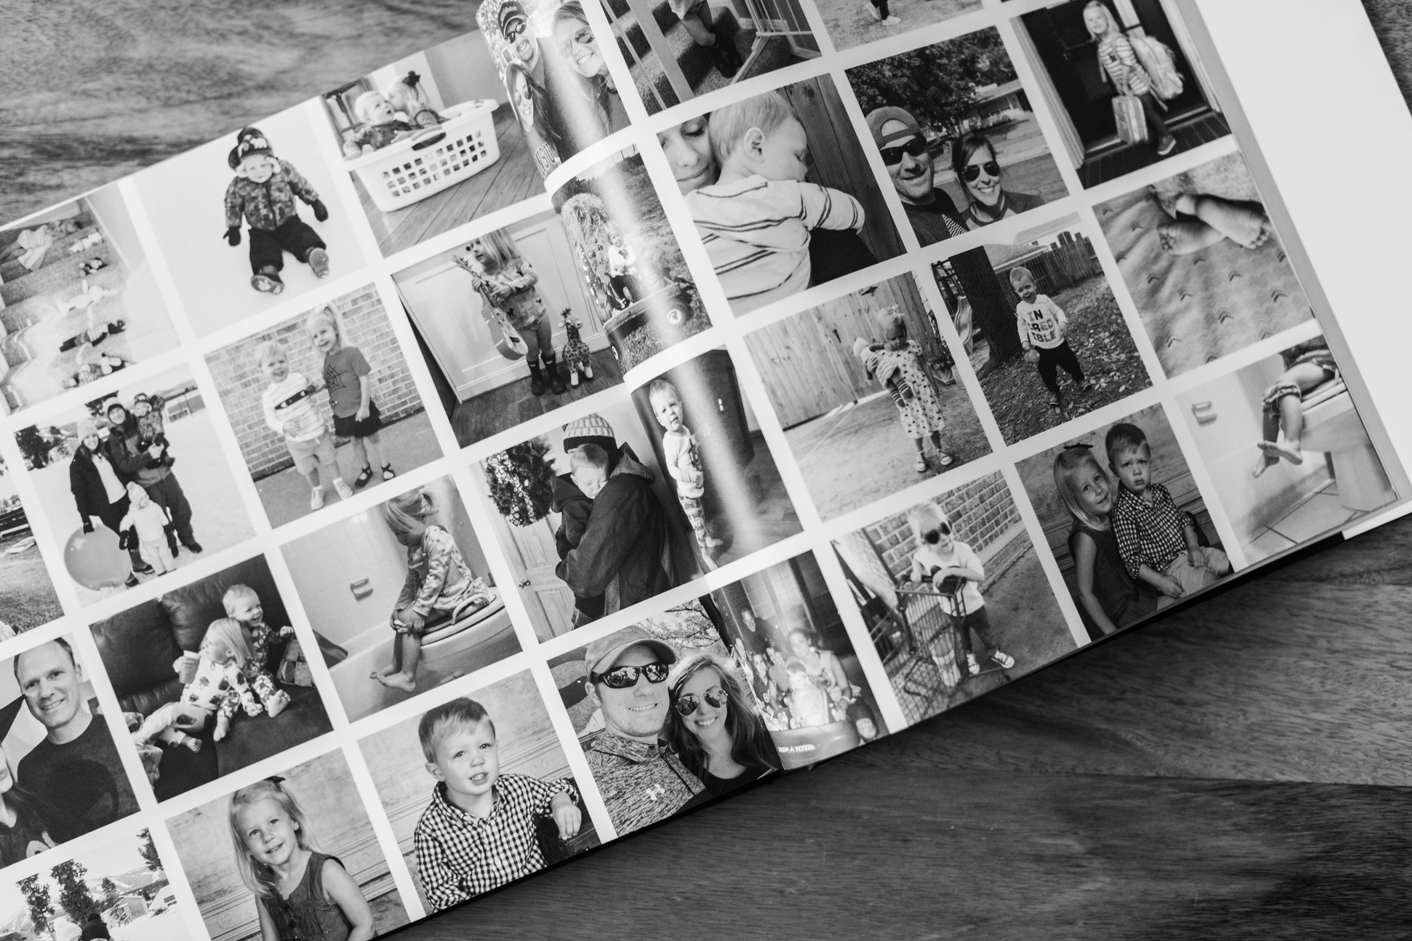
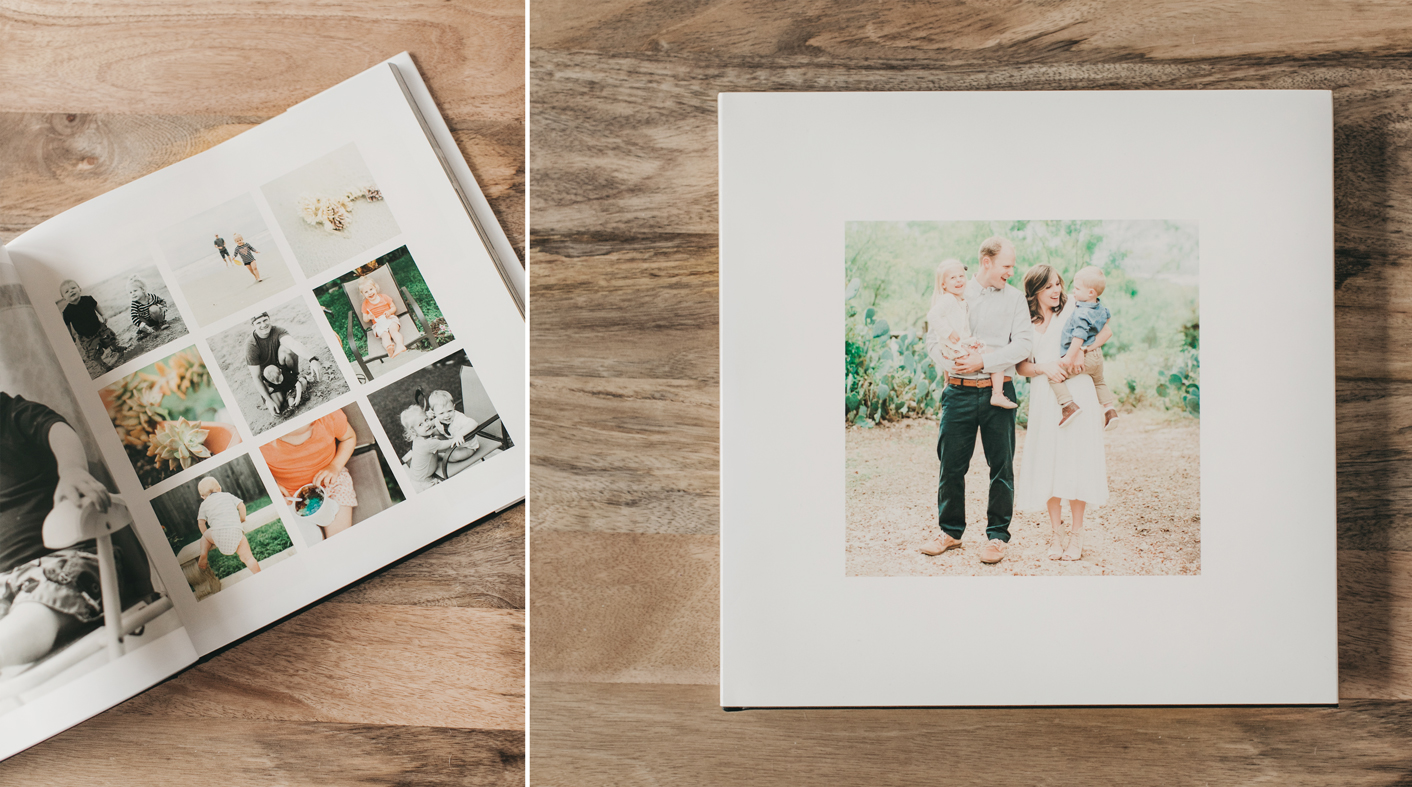
I cannot express how satisfying it is to hold a year of cherished photos in my hands, pages and pages of milestones and memories to flip through and reminisce on whenever I want to. Over the years, I have always encouraged family and friends to print their photos — hang them on walls, create keepsakes, gift them to loved ones, but there’s just something extra special about a book or album chronicling your family’s adventures, growth, and memories over a whole year. I made it my goal for 2016/17 to have all of my family photos organized, edited, and ready to print so I could easily create yearly photo albums for our family, and am happy to say that I held our very first album just days before Christmas last year. It was a pretty large undertaking getting to the end result but I now have a system in place that makes this process quite easy and I want to share it with YOU in the hope that you will feel led to get your own memories off of your computer and into your hands.
Step ONE: Organizing and Culling Your Photos
This is easier said than done, but once you get your system in place, it truly is a seamless process. If you have years and years of photos to organize, this first step can be daunting enough to make you not even want to tackle the task at all. But the best way to just start is to pick a place and START. I chose to work on the images by year, starting with the current year’s photos and then working backwards. Memories and dates were fresher in my mind and I felt like I could move through them faster because of this.
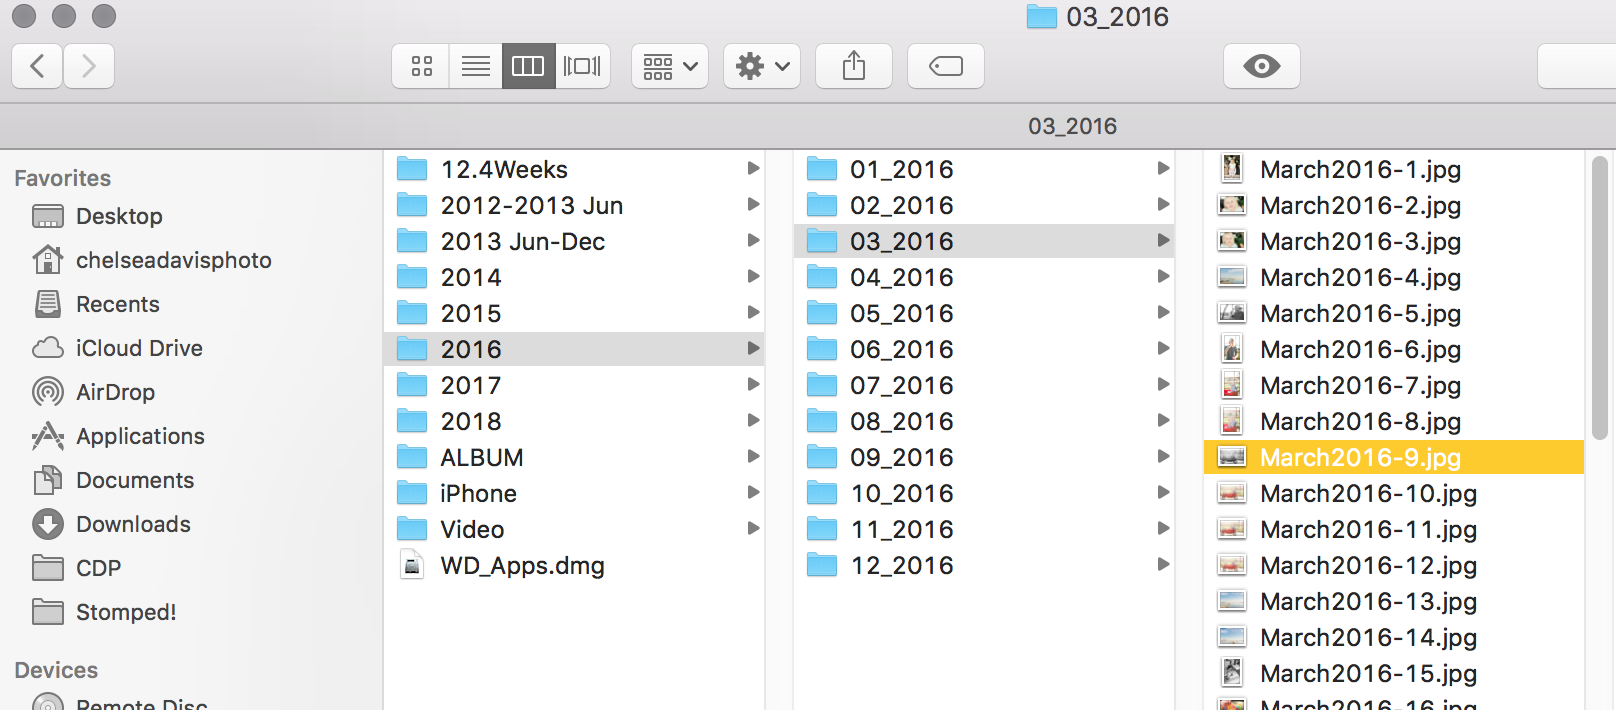
I create parent albums on my external hard drive for each year, starting with the year I got pregnant with my daughter. I also have another folder with the years preceding her, but there aren’t nearly as many images and I don’t feel that those are as high of a priority to print. I hope to get to them though, one day! Within a year’s folder, I include each of the months and then those folders contain everything from that month; some images are random and don’t really have a specific event to link to, so those are simply put into the “month” folder. For special/specific events, I create event folders within the month and place relevant images in there and name them appropriately for easy reference. You can see the hierarchy of my photo folders here:
**NOTE: I backup all of my personal and client images to an online backup service called Backblaze. It’s set up to backup my files automatically, and it’s a priceless service. Hard drives WILL fail, it’s simply a matter of when.
When I initially started this project, I had many of our personal images that I never actually edited or culled through. I just saved them to the appropriate “month” folder and moved on. At least they were organized! But clearly, the culling and editing needed to be done before I could get them into an album so I began working folder to folder, culling my favorites and only editing and saving those favorites. This process took me about a year to complete, thanks to having two little ones (around age 1 and 2 at the time) and this task being second to my business of culling and editing images for my clients! I did it when I had free time though and eventually it did get done! Success!
Once I was up to date, I made it standard practice to stay on top of culling and editing current photos by doing them at the end of the month (or very beginning of the next month). I found that if I make a point to sit down and cull/edit them for the whole month, I successfully stay on track with keeping my images organized and ready to print at the end of the year/beginning of the new year. Sometimes, I have time to edit an event or collection of images pretty soon after they occur, and I take advantage of that, especially for months when we are super busy and I know we will have a lot of images to go through (ie fall through Christmas). If I wait too long to cull the images, it becomes a huge task so I really prioritize the monthly culling and editing step.
Step TWO: Building Your Album
I have made photo albums with a few companies over the years and I offer special heirloom albums for my clients, but I was on the hunt for something very specific for our personal albums. Because nothing in the past met my requirements, I had images that were organized, edited, and ready to be printed but sadly, no desirable option for actually getting them printed into an album. Requirements for my photo book/album include:
-
- Quality. I was not willing to sacrifice quality in printing or construction of the album. I wanted something that accurately and beautifully showcased the images I worked so hard on, and a product that would last so I could look back on it for many years and pass them down to my own children.
- Uncomplicated Design. I design all of my client albums in Photoshop, save those files, then upload them to the ordering software that my album company provides. There is a lot of versatility when designing albums from scratch but it can be very time consuming and there is quite a bit of back and forth having to work in several different programs and with different file types (for example, I save a jpg and raw version of every page design so if I need to make changes before printing, I can do so in the raw file. But then I have to create a new jpg and upload that new jpg into the design software). I end up with a ton of files by the end of a project.
- Large Page Count. My clients know this about me, but I have an attachment to almost every photo I take. I typically deliver a larger selection of images to clients after their session because I want them to have as many images of their family/loved ones as possible (of course I omit any images that are not to my standard, images that are duplicates, or ones that include anything that is unflattering — hello, blinking!). I was thrilled to find a company that could accommodate the large page count that I would undoubtedly require for my family’s album.
- Affordability. I typically subscribe to the notion in photography “you get what you pay for” and albums are no exception. There are so many consumer-level companies out there with pricing that ranges from $10 an album to hundreds. It’s almost overwhelming when considering the many sources available. My pro labs are wonderful and offer some luxurious options for professionally printed albums and there truly is nothing quite like them (linen or leather covers, embossed spine, thick lay-flat pages made of the best papers available). While these albums are stunning and such a gorgeous way to display a smaller collection of memories or a specific event (like a wedding or newborn session), I knew that this option wasn’t what I needed for our year of family photos. The price would be pretty astronomical if I printed 200+ pages in an album of this caliber, and most high end labs have a limit on the number of pages you can include. So I needed a company that could print a large qty of pages at a great quality (not necessarily the best of the best) and at a reasonable price point.
- Page Layout Versatility. Less is more, that’s my usual stance on design, including albums. I love white space and clean lines and minimal text, letting photos shine on their own and speak for themselves. But when you have thousands of photos to include in one album — as most moms/parents do! — this minimalist design approach just isn’t feasible for an extensive family photo album. Sure, I love to feature one solo impactful or meaningful image on a page, but I also wanted the ability to include a grid of say 20 square images on another page layout (because I can’t just feature two or three photos of my kid’s birthday party, can I?!). I wanted to be able to do that in a beautiful and functional way, when regardless of the layout — a page with one photo or twenty — each spread looked intentional and consistent.
Enter Blurb. I discovered this company when I read about another respected photographer who used them for her family’s personal albums. From the Blurb website: “Blurb is a self-publishing and marketing platform that unleashes the creative genius inside everyone… [with] beautiful, bookstore-quality books on premium paper stock with archival-quality binding. And anyone could make one. Literally, just one. Or two. Or ten thousand.”
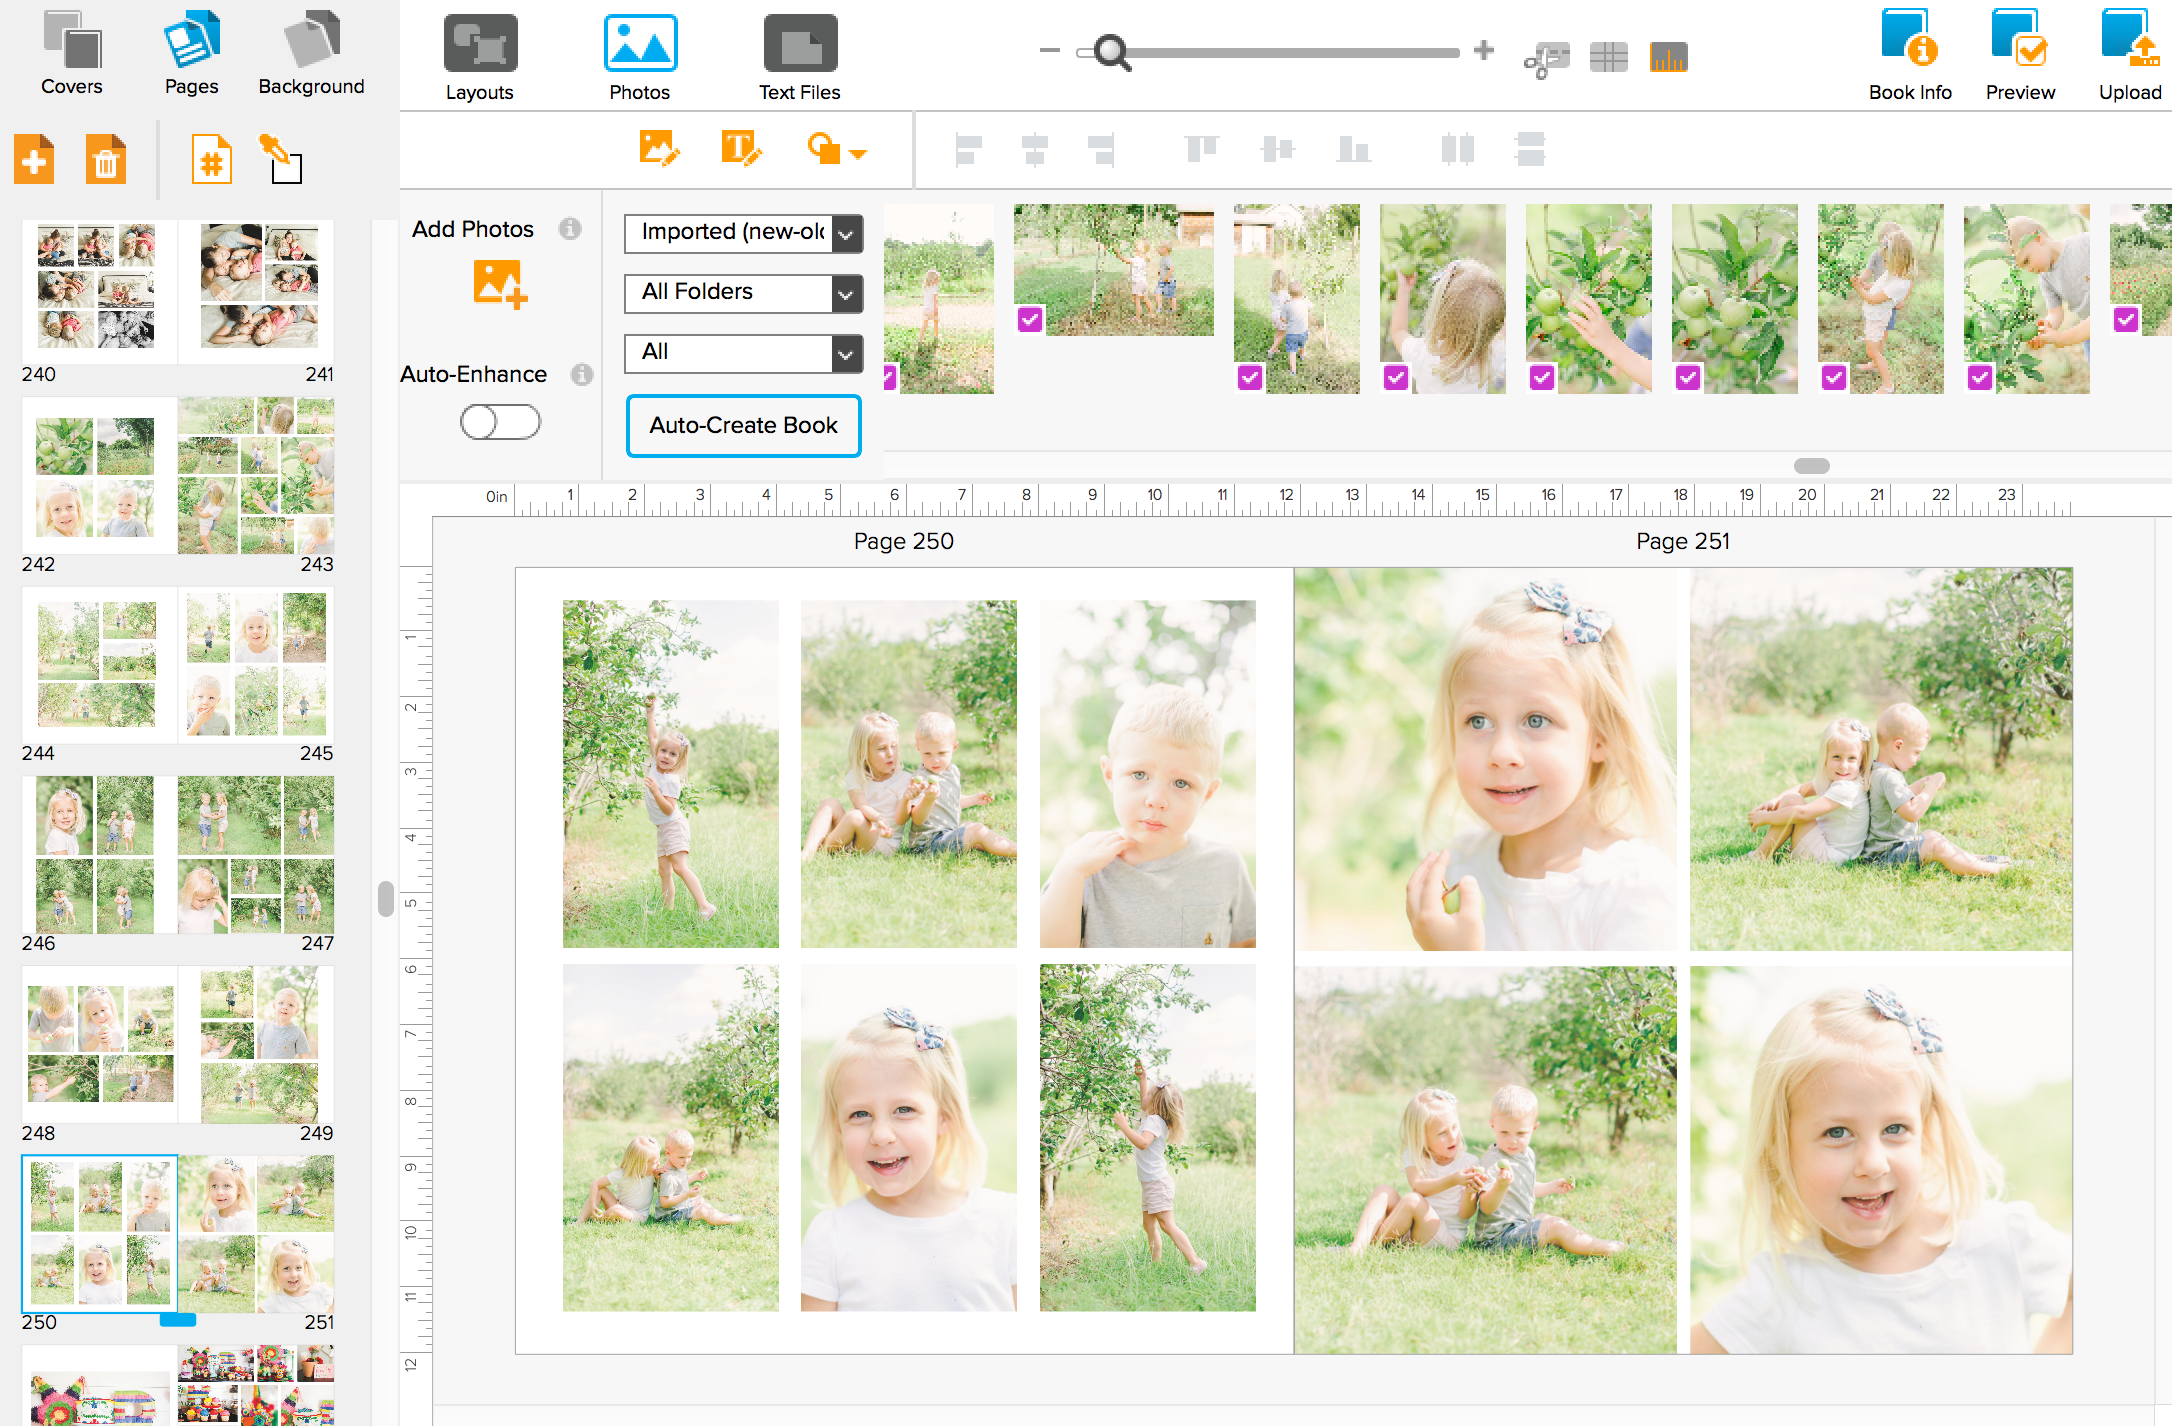
My favorite thing about Blurb (besides the quality of the product and the many printing options available) is the ease in which you can create your book. They have tools available for every skill level, allowing you to pull images from Instagram and Facebook, integrate with commonly used Adobe programs, or take advantage of their flagship tool, BookWright, which, in my opinion, is a game changer for consumer-level album/book creation. I could continue to design and work with my Adobe programs for our personal family albums, but the BookWright software available with Blurb is just too good and too fast to not use, particularly when you are designing and printing your album with the same company. Let me show you:
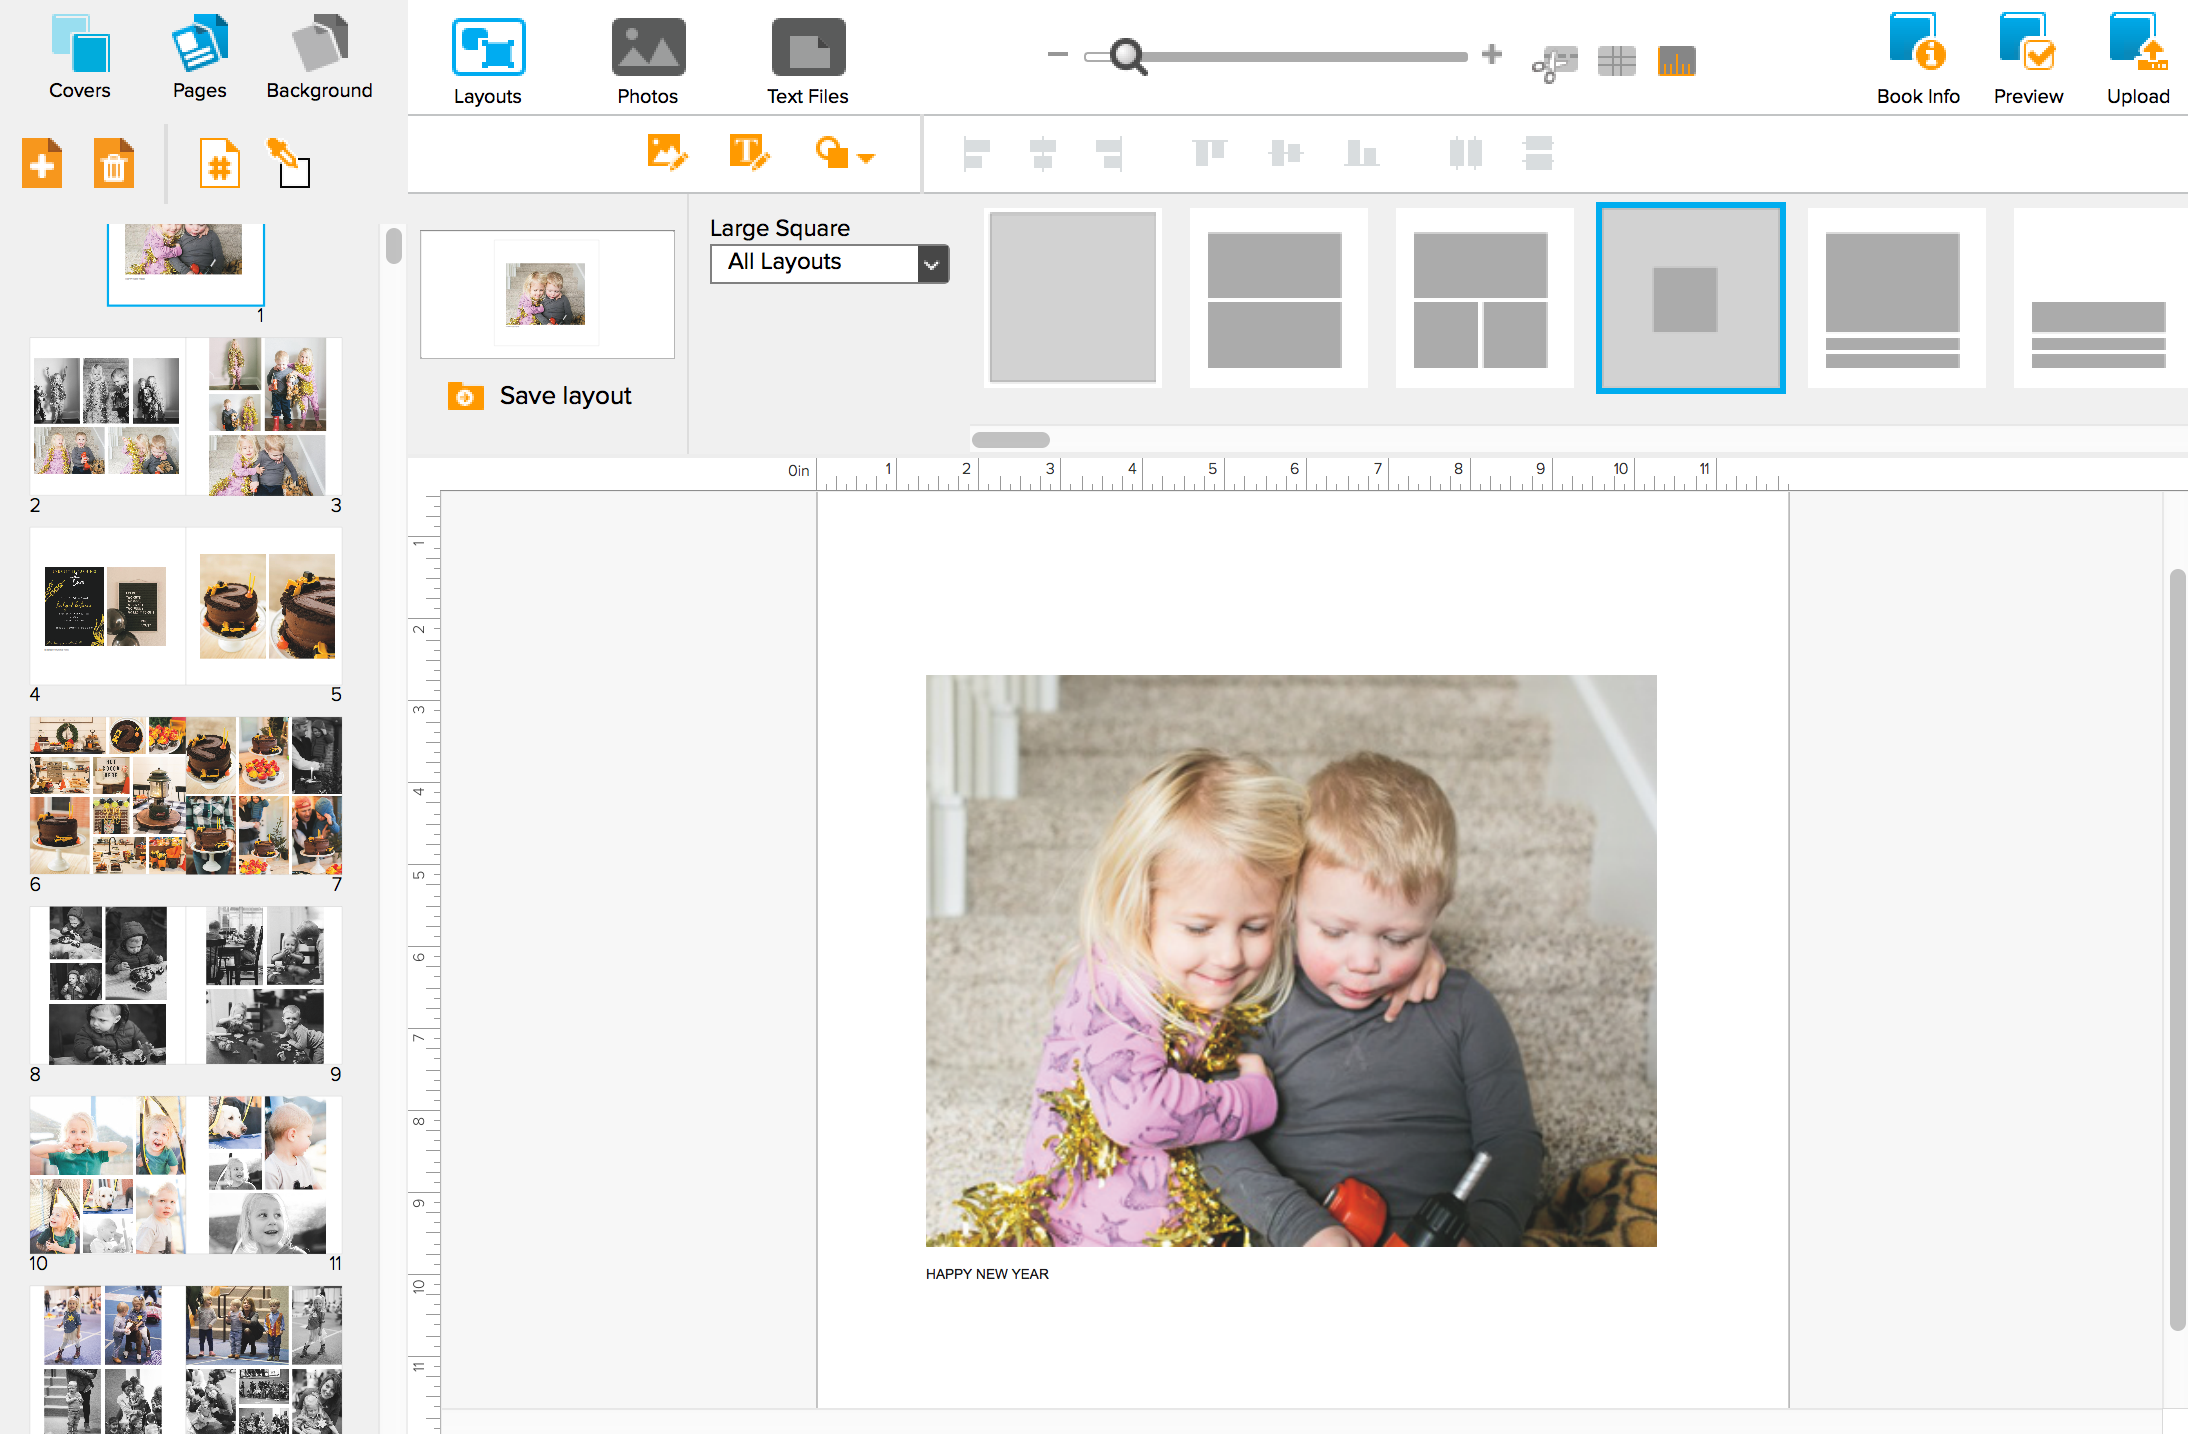
When you select the layout for the page, you simply drag and drop your images into the template. The software will alert you if the image resolution is too low, if an image or text box is positioned off of the page, or if anything is not going to print well so you can fix it before printing. Replacing an image is very simple too (I do that a LOT). Be sure to save your work as you go, and Blurb stores your album for you so you can work on it as often or as little as you can.
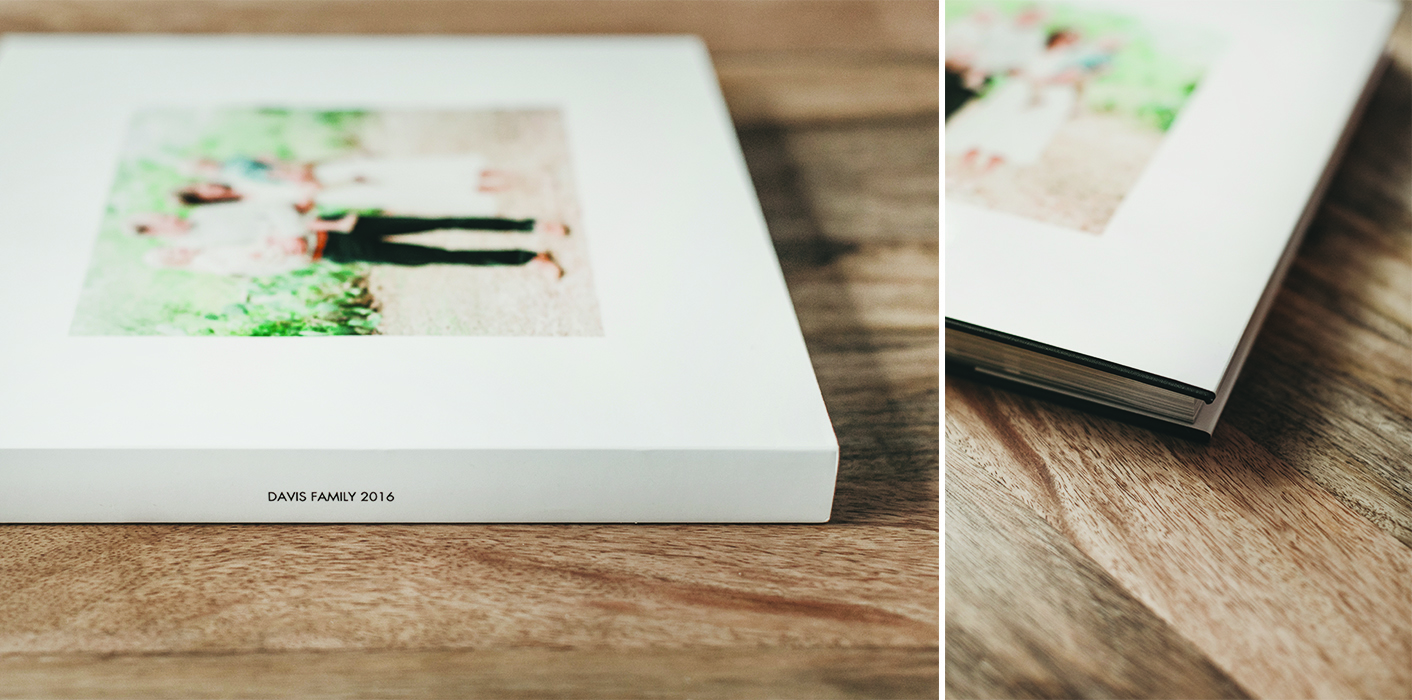
Fun fact: Blurb has wonderful discounts throughout the year, so if you’re a fast little album maker, you can create and save an album (or ten) in the software, wait for a sale, and order later when you can take advantage of one of their discount codes (I have seen 40% discounts a few times throughout the year, and 50% off near black Friday). See the link below for 35% off!
New Customers click HERE to save 35%!
I hope this post helps you decide that it’s time to tackle those photos and get them printed! The longer you wait, the harder and more intimidating the task can become, so implement an organization structure and start arranging your photos into folders. Set small goals, take your time, and try not to get overwhelmed. As it were, this process ended up being pretty fun and I loved going back through our photos. It has been such a joy for me and it truly made theses albums even more of a priority. Comment below if you have any questions — I would love to help! Try Blurb Here.
These opinions are 100% my own. I was not paid to provide my opinion on Blurb or Backblaze. I simply love these companies and their products and wanted to share.

